
Last updated November 21, 2026
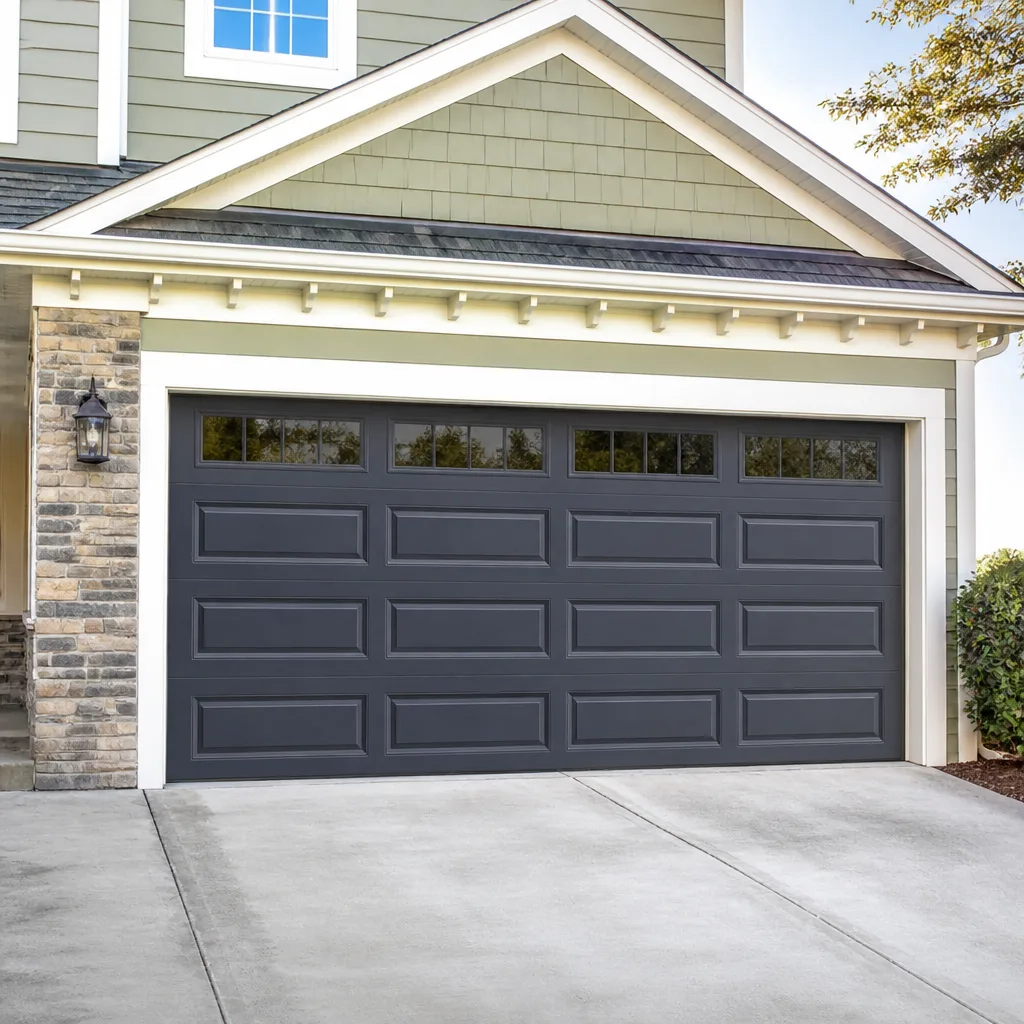 Raised-panel steel
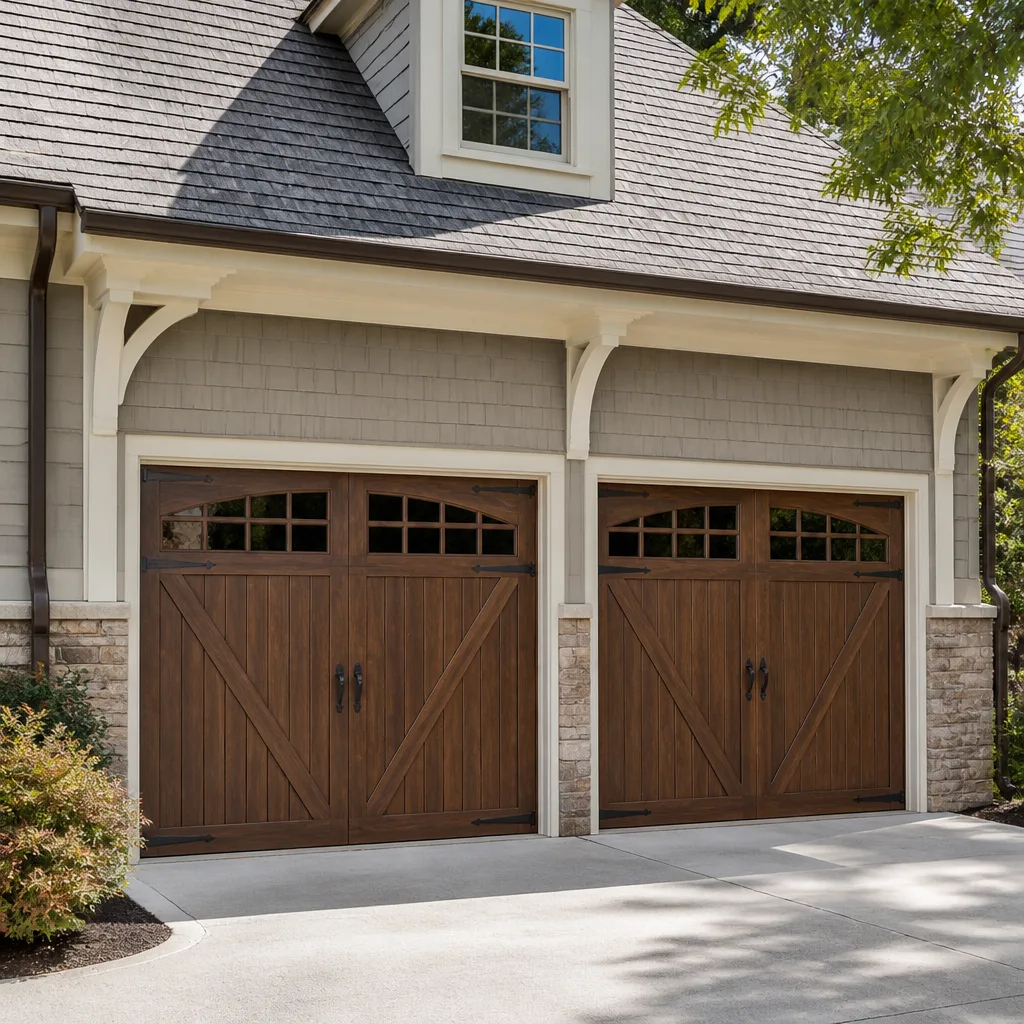 Carriage house
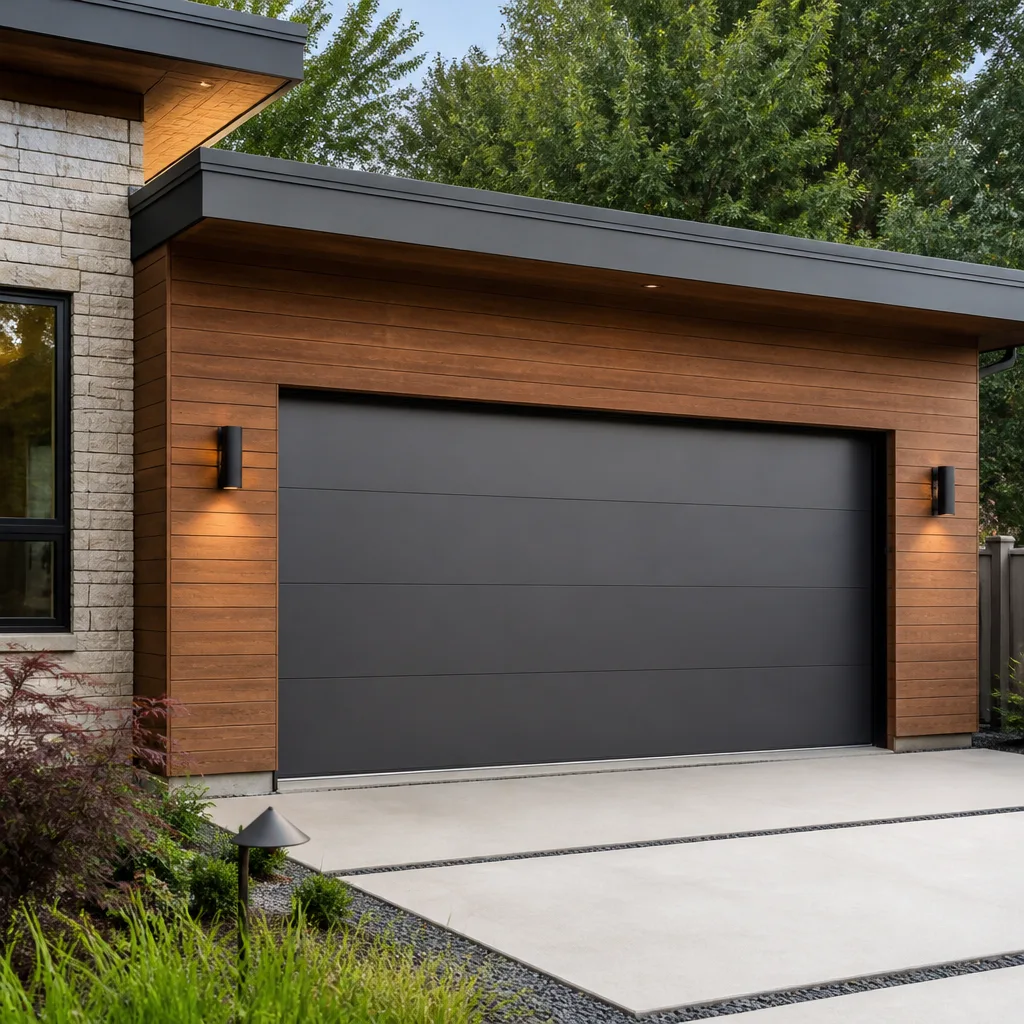 Modern flush
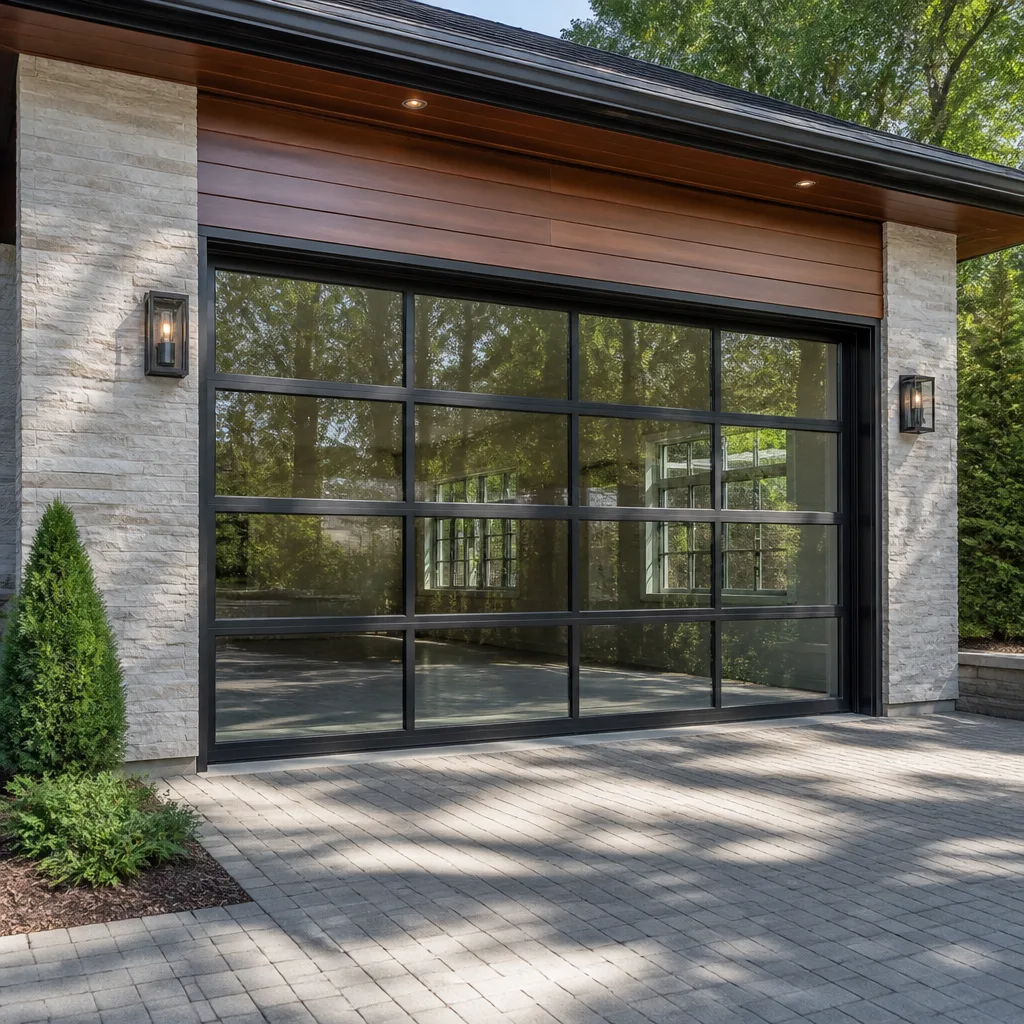 Full-view glass
 LiftMaster openers
 Chamberlain openers
Full 25-point door and opener safety check with every visit - springs, cables, rollers, tracks, and your LiftMaster or Chamberlain opener included
You get a price before we start. It does not change when the pro arrives.
Get your free estimateGarage Door Repair Maintenance Checklist for Lowell Homeowners
Most garage door maintenance advice tells you to lubricate the springs. That’s the wrong advice, and in Lowell it can cost you. Torsion springs shouldn’t be lubricated at all, and coating one with oil can hide the dry, tight winding pattern that signals a tension problem building toward a snapped cable in a cold snap. Your garage door is your home’s largest moving part, and the checks that actually matter aren’t the ones on a generic national checklist. This guide walks through the five high-leverage checks that prevent most emergency calls we see in Lowell, plus a plain do-now-or-schedule matrix so you leave knowing what’s urgent and what can wait until spring.
Quick Answer
A sound garage door maintenance checklist for Lowell has five core checks: lubricate only the hinge pins, rollers, and track sections that need it (never the springs); run a 60-second balance test by hand; inspect weatherstripping for freeze-thaw cracking at the corners; verify the opener’s auto-reverse sensitivity; and tighten the track and hardware that New England temperature swings loosen. Do these correctly rather than superficially, and you prevent the majority of emergency repair calls. Anything involving springs, cables, or panel replacement should go to a trained technician.
Styles & brands we work with
- Raised-panel steel
- Carriage house
- Modern flush
- Full-view glass
- LiftMaster openers
- Chamberlain openers
Table of Contents
- Which Parts Need Lubrication and Which Don’t
- The 60-Second Balance Test
- Weatherstripping and Lowell’s Freeze-Thaw
- The Opener Force-Sensitivity Test
- Tracks, Hardware, and Cold-Weather Loosening
- Seasonal Timing for Lowell
- Do Now vs. Schedule: Your Decision Matrix
Which Parts Need Lubrication and Which Don’t
Lubrication is the most misunderstood part of garage door maintenance, and it’s also where the wrong product does real harm. The rule is simple: lubricate metal parts that slide or pivot under load, and leave everything else alone. WD-40 is the wrong answer for every part of a garage door. It’s a penetrating solvent, not a durable lubricant. It washes out the factory grease from sealed bearings and rollers, then evaporates and leaves the part drier than it started. Use a lithium-based grease on the opener rail and a silicone or lithium spray on moving hardware.
Here’s exactly what gets lubricated and what doesn’t:
- Lubricate: hinge pins (a drop on each pivot), roller bearings (not the roller surface), the opener rail and trolley, and any metal pivot point on the arm that connects the door to the opener.
- Don’t lubricate: torsion springs, tracks themselves (a greasy track collects grit and makes rollers slide instead of roll), and nylon rollers, which are designed to run dry.
- Never: oil or grease the torsion bar assembly. Torsion springs need to stay clean and dry so you and your technician can see the winding state and any fatigue. WD-40 or oil on a spring can mask a tension problem and, in the worst case, let a failing spring fail suddenly.
- Sparingly: extension springs on the older doors we still see on homes around Lowell get a light silicone coat only if they have no internal safety containment hardware. A trained technician handles any spring that looks worn or has visible gaps.
If you’re not sure whether your door has torsion or extension springs, look at the bar above the door. A horizontal shaft running across the top with coiled springs wound onto it is a torsion setup. Springs running parallel to the tracks along the sides are extension. This distinction matters for every check below, and it’s one reason we don’t hand out generic lubrication advice over the phone.
The 60-Second Balance Test
The balance test tells you whether your door is properly counterbalanced, and it takes less than a minute if you do it safely. A balanced door stays put wherever you leave it, roughly a third of the way up. An unbalanced door falls fast or drifts up, and either result points to a spring system that’s lost tension or is over-wound. Do this test with the door disconnected from the opener and with nothing (and no one) under the door. Never put your fingers between the door sections. If your door has a history of dropping on its own, don’t run this test yourself; that’s an inspection call.
- Close the door completely and pull the manual release cord on the opener trolley so the door moves freely.
- Lift the door by hand to about halfway. You should feel steady resistance that lessens as the door rises.
- Stop and let go. A balanced door holds its position.
- Try it again a third of the way up. A door that sinks to the floor or springs upward on its own is out of balance.
- Reconnect the trolley by running the opener until it re-engages.
A failing result means the springs are the issue, not the door. Under-wound or fatigued springs pull the door down; over-wound or mismatched springs push it up. Either way, this is a spring system that needs a trained inspection before it fails completely. In Lowell’s climate, we see balance failures climb as the cold season runs on: torsion springs that were fine in September often show their real condition in January. That’s the moment to book a garage door spring repair inspection, not to keep opening the door and hoping.
Weatherstripping and Lowell’s Freeze-Thaw
Weatherstripping fails here the way it fails almost nowhere else, and the failure mode at the bottom is different from the failure mode at the top. Lowell sits in a river valley where the temperature bounces above and below freezing repeatedly through winter. That freeze-thaw cycle is the whole story.
At the base of the door, the bottom seal (the rubber or vinyl astragal) takes on water during a thaw, then that water freezes at night. Repeated cycles break down the seal from the inside: it starts to crack at the corners where the hinges bend, then peels away from the door at the base track. Cracking at the corners is a seal that’s dried out and lost flexibility; peeling at the base is a seal with water trapped behind it and adhesive failing. The first fix is a new bottom seal; the second usually means the bottom section’s retainer has to come off and the seal has to be replaced with one sized to your door. Those are different jobs and different parts.
Check the perimeter weatherstripping while you’re at it. The gasket around the door frame should sit snug against the door with no daylight showing through from inside. Gaps let in cold air and snowmelt, and snowmelt refreezes and stresses the door. Older homes around Lowell with steel-frame tracks and less insulation in the garage tend to show the perimeter problem first.
- Inspect in fall: look for cracking at the corners of the bottom seal and any peeling from the retainer.
- Don’t wait for spring: a base seal that’s already failing will let meltwater in all winter, which stresses the door and the floor under it.
- Replace, don’t tape: a taped or glued-over crack won’t hold through a freeze cycle.
The Opener Force-Sensitivity Test
This is the check most homeowners skip, and it’s the one tied directly to safety. Every automatic garage door opener has a force-sensitivity or travel limit setting, and the manufacturer sets it at the factory for a reason. Once the auto-reverse force threshold drifts out of range, the opener can fail to reverse when it should. The specific way to verify it is a physical test with a solid object, not a guess. Make sure the opener is on a LiftMaster, Chamberlain, Genie, or one of the other brands your technician can actually look up. If you’re not sure what’s on the wall, that’s a quick garage door opener repair call to identify it.
- Open the door fully, then close it using the wall control or remote.
- While it closes, place a piece of 2×4 lumber flat on the floor in the door’s path (not your hand, and not a soft object).
- When the door contacts the board, it should reverse and go back up. If it doesn’t reverse, stop using the opener and call for service.
- Repeat at least twice. The door should reverse reliably both times.
If the door doesn’t reverse on contact, the force setting needs adjustment and possibly the opener itself is fatigued. Don’t adjust it yourself unless you have the manual for your exact model and you understand the force limits; the wrong setting makes the door less safe, not more. The brands we work on most in Lowell – LiftMaster, Chamberlain, Genie, Craftsman, and Raynor among the eight we’re factory-familiar with – all have their own settings, and a technician who knows the model does this in minutes. If your opener is an Amarr or Wayne Dalton door paired with a newer smart opener, the same test applies.
Tracks, Hardware, and Cold-Weather Loosening
New England temperature swings loosen bolts. That’s the whole reason this section exists. Your door frame, tracks, and hinges are held together with a set number of bolts and screws, and every freeze-thaw cycle works them a little looser. A loose hinge bracket on a cold morning can let a section sag, and a sagging section drags on the track. That’s how a door that worked fine in September starts grinding in February.
With the door closed, check the tracks by eye: they should be straight and parallel, with no visible dents, bends, or gaps between the track and the door. Then run a hand along each hinge and bracket and look for loose bolts, missing screws, or brackets that have pulled away from the door. Tighten what’s clearly loose with the right wrench, but stop before you strip anything. If a track is visibly bent, don’t try to straighten it yourself: a bent track is a door that can bind or come off its rollers, and that’s a technician’s job.
Clean the tracks with a dry cloth and no solvent, then leave them dry. Grit and debris that collect in Lowell’s tracks during road-salt season are a common cause of doors that sound strained; a wipe-down removes most of it. If your door does come off the track or the rollers jump out, don’t force it back. That’s one of the situations where you call garage door repair and let a trained technician reset it. The brands in most Lowell garages – Clopay, Amarr, Wayne Dalton – have hardware that looks generic but isn’t, and a technician who knows the model knows where the tolerances are tight.
Seasonal Timing for Lowell
Timing matters as much as the checks themselves. In Lowell, the high-value maintenance window is late fall, before the ground freezes and the first hard freeze sets in. That’s when you want the balance test done, the weatherstripping inspected, and the hardware tightened. A door that enters winter balanced and sealed is a door that’s much less likely to become a February emergency call.
- Late fall (before the first hard freeze): balance test, weatherstripping inspection, hardware tightening, lubrication.
- Mid-winter (after a thaw): recheck the bottom seal and the perimeter gasket, since a freeze-thaw cycle reveals failures the fall inspection missed.
- Early spring: repeat the balance test and the auto-reverse test, and inspect tracks for grit and debris from the winter.
- Anytime: any door that sounds strained, jerks, or binds when it moves should be checked now, not at the next seasonal slot.
If you’re in the market for a door rather than maintaining one, timing works differently. Installation, replacement, and new-door projects get measured, ordered, and scheduled, so the best time to start is whenever you have the budget and a clear picture of what you want. That’s the moment for a free measure and a written price, not a same-day sprint.
Do Now vs. Schedule: Your Decision Matrix
This is the part most checklists leave out, and it’s the piece that actually changes how you act. Here’s how we’d sort what you find, based on what’s genuinely urgent and what genuinely isn’t.
- Do now (stop using the door, call for service): a door that doesn’t reverse on the 2×4 test; a door that comes off the track; a visibly bent track; a door that slams down or races up; a door that won’t open or close at all.
- Schedule soon (this week, don’t put it off): a failed balance test; cracking or peeling at the bottom seal; a loose hinge or bracket you can’t safely tighten; an opener that sounds strained or reverses unreliably.
- Schedule when convenient (before the next seasonal slot): a bottom seal that’s showing early wear but not failing; perimeter gasket gaps; dry hinge pins and roller bearings; a track that needs a wipe-down.
- Wait until spring if you want: cosmetic paint or finish issues, a door that’s simply noisier than you’d like, and non-urgent track cleaning.
When it’s a spring, cable, or panel problem, it’s always the first category. Springs are under high tension. Cables can snap. A door panel that binds can come down. Those aren’t jobs for a homeowner with a wrench. When it’s just hardware and weatherstripping, you’re well within DIY territory as long as you stop at the point where anything looks bent or strained.
Common Mistakes to Avoid
- Lubricating the torsion springs. It doesn’t help, and it can hide a tension problem until a cable snaps. Springs stay clean and dry.
- Using WD-40 on any moving part. It’s a solvent, not a lubricant. It clears factory grease and leaves parts drier than before. Use lithium or silicone.
- Winding or adjusting torsion springs yourself. This is genuinely dangerous, and it’s the one repair we won’t walk anyone through. Leave it to a technician with the right tools.
- Skipping the auto-reverse test. It takes two minutes and it’s the one check tied to door safety. An opener that fails it needs service.
- Ignoring a failing bottom seal until spring. In Lowell, a failing seal takes on meltwater all winter and stresses the door and floor. Replace it now.
- Trying to straighten a bent track. A track that’s been bent once is weaker than it was, and a door can come off its rollers on the first use. Call for help.
- Tightening a hinge bracket you’re not sure about. Bolts that are already stripped from over-tightening make a door worse. If a bracket has pulled away, that’s a technician’s call.
See the difference
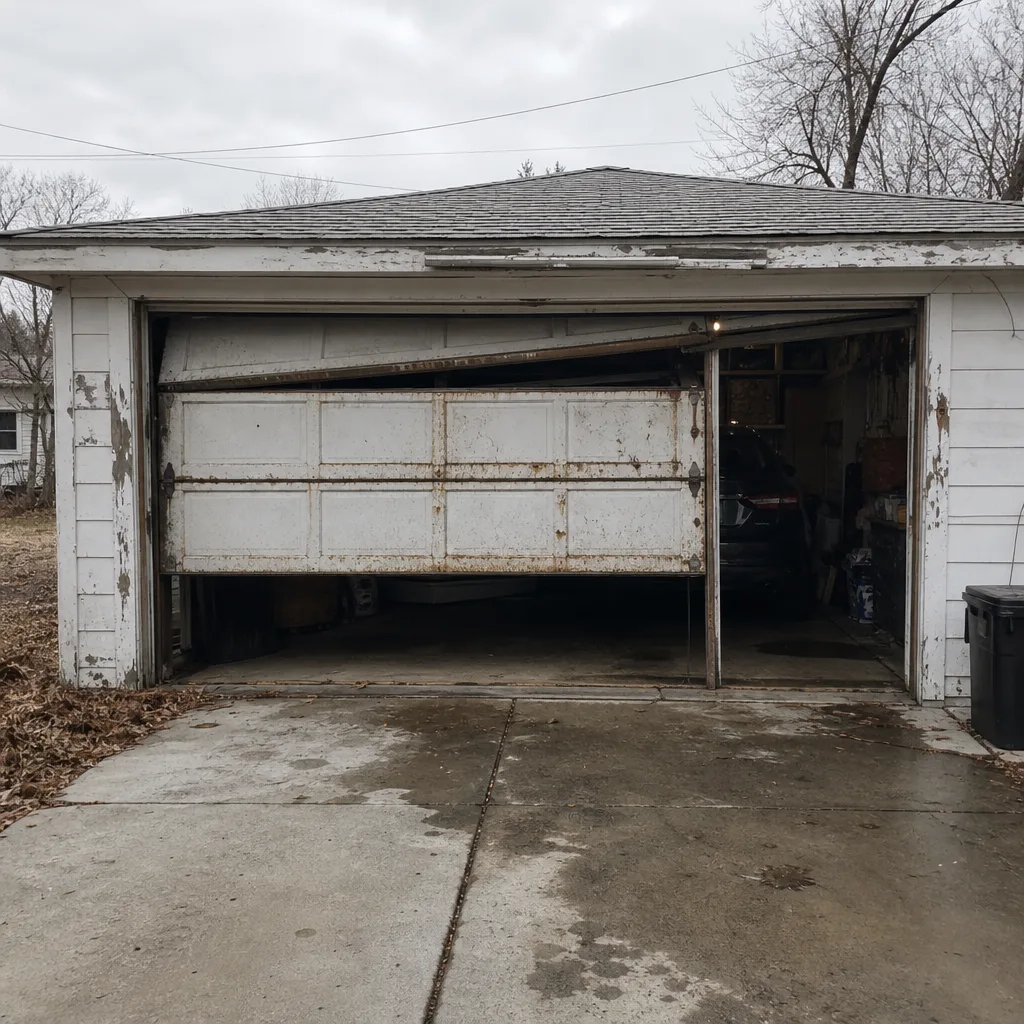 Before
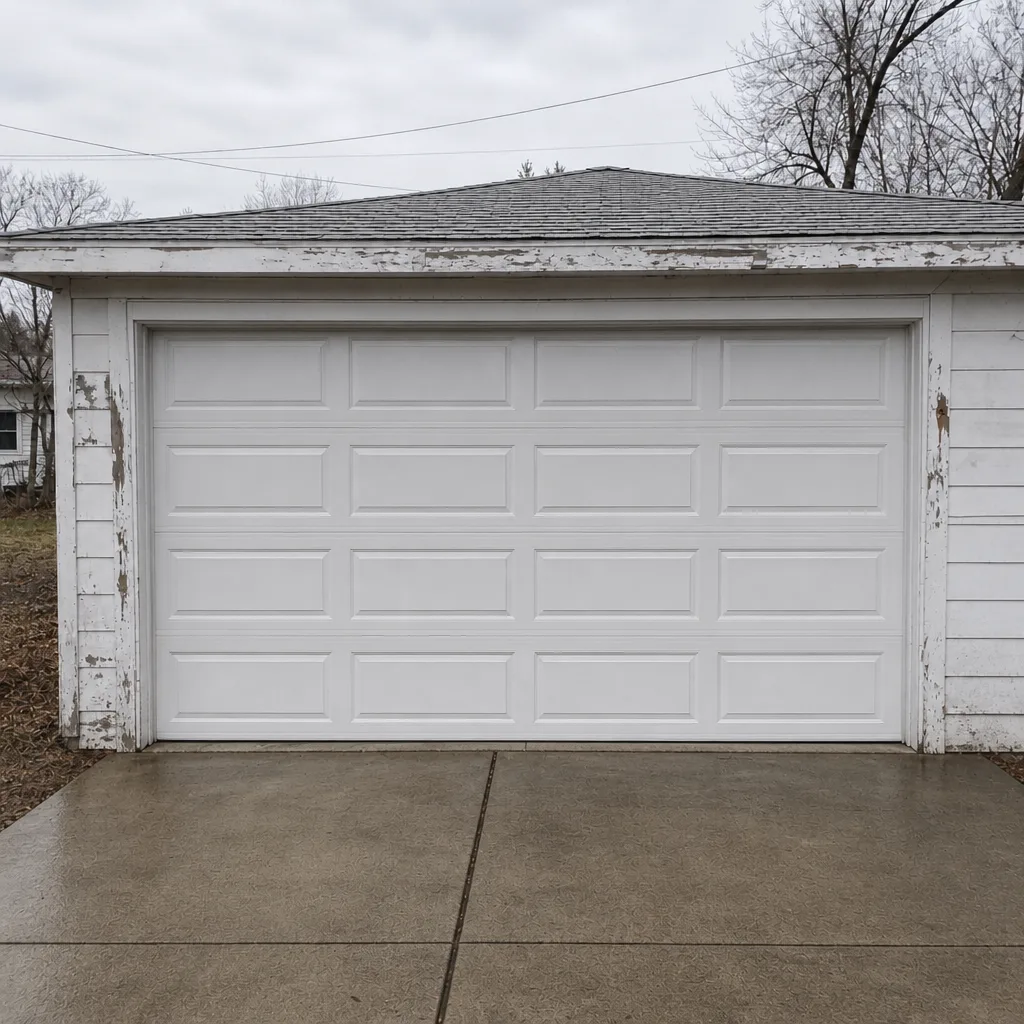 After
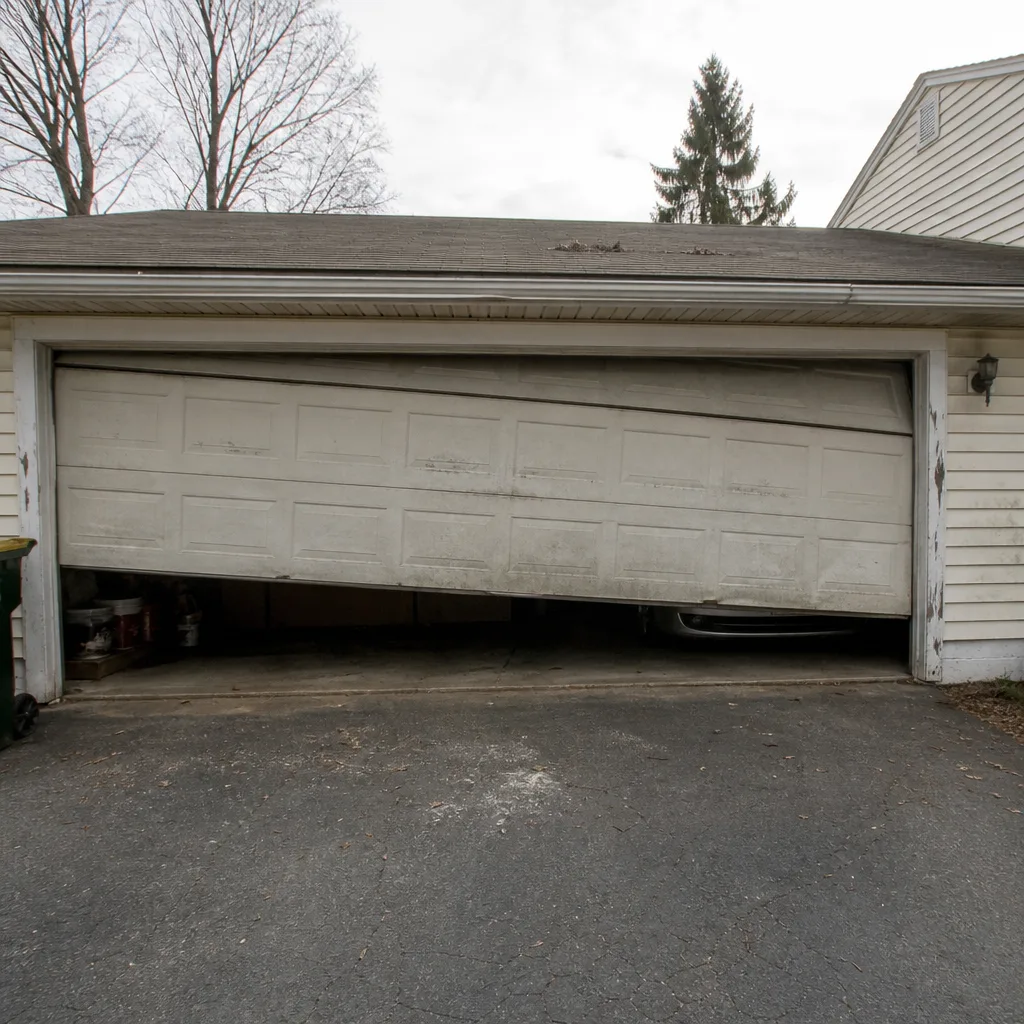 Before
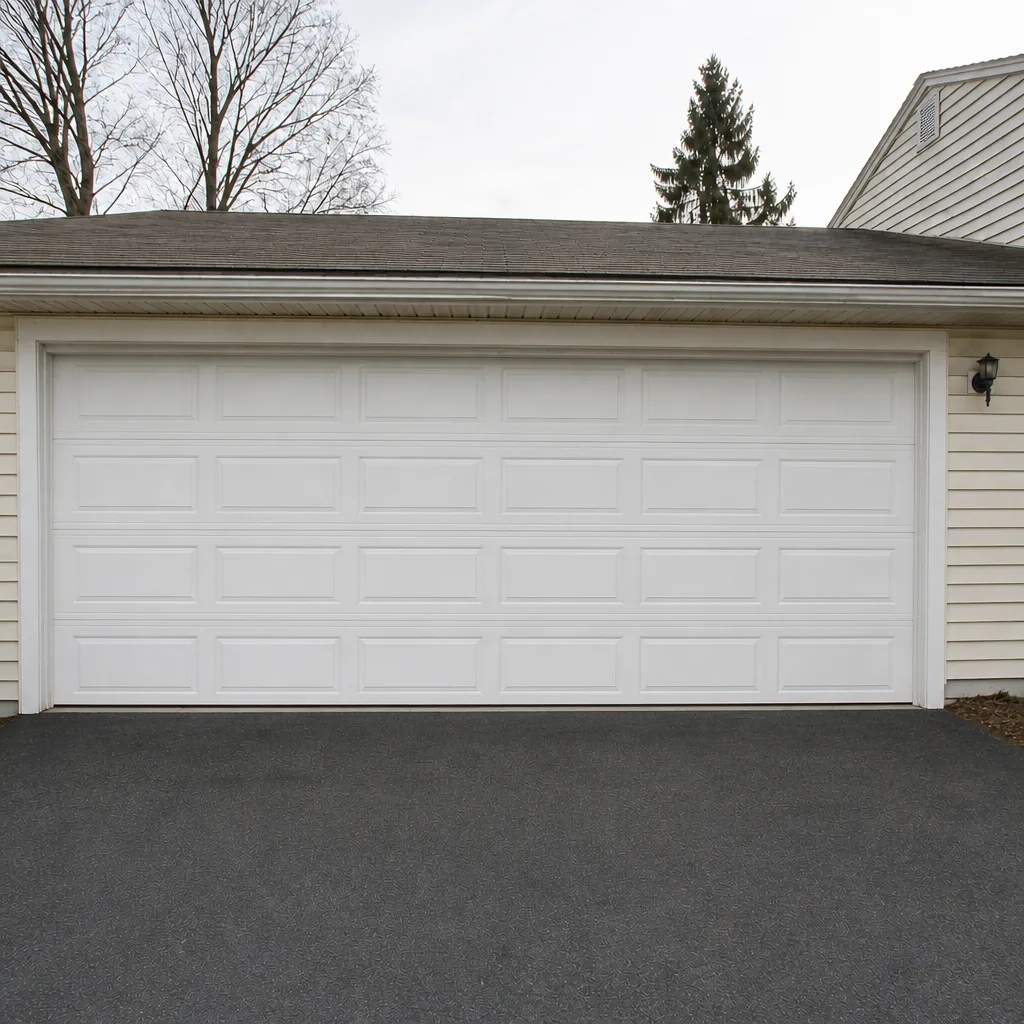 After
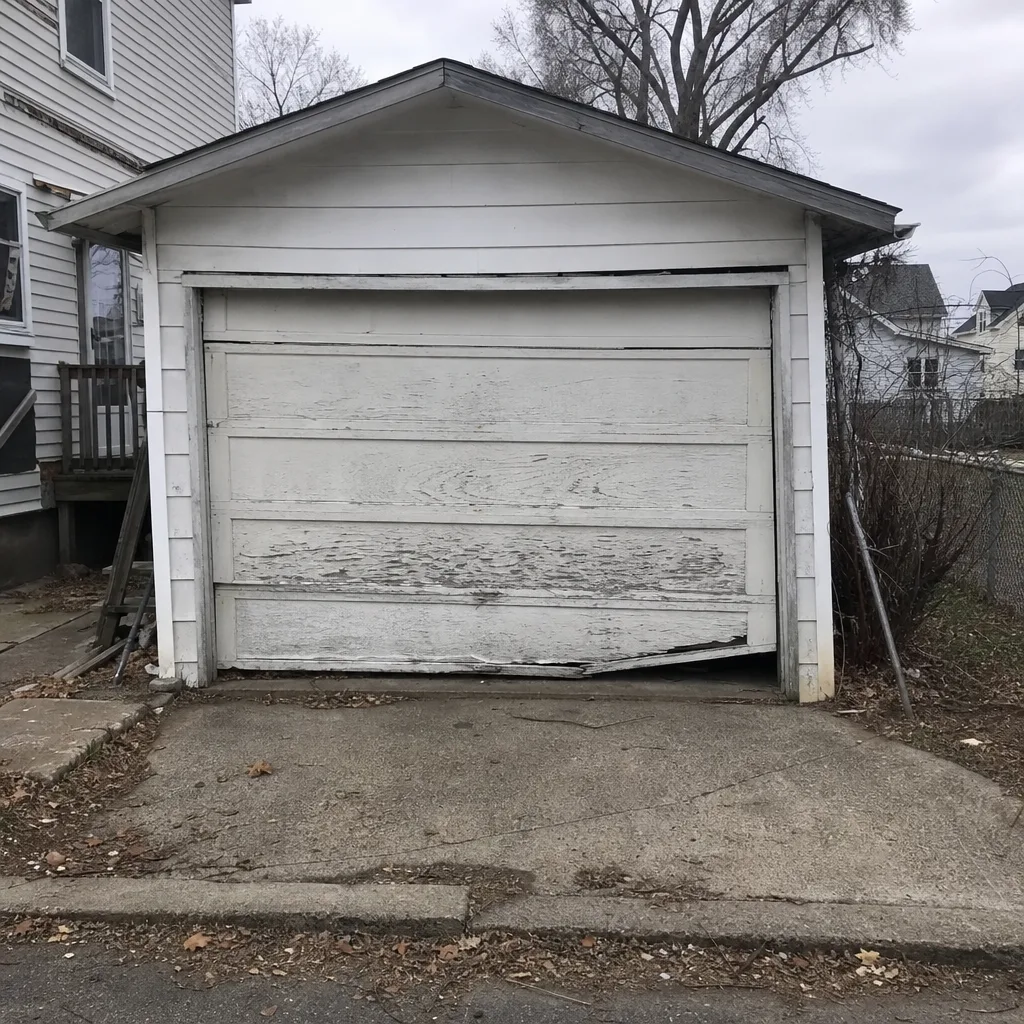 Before
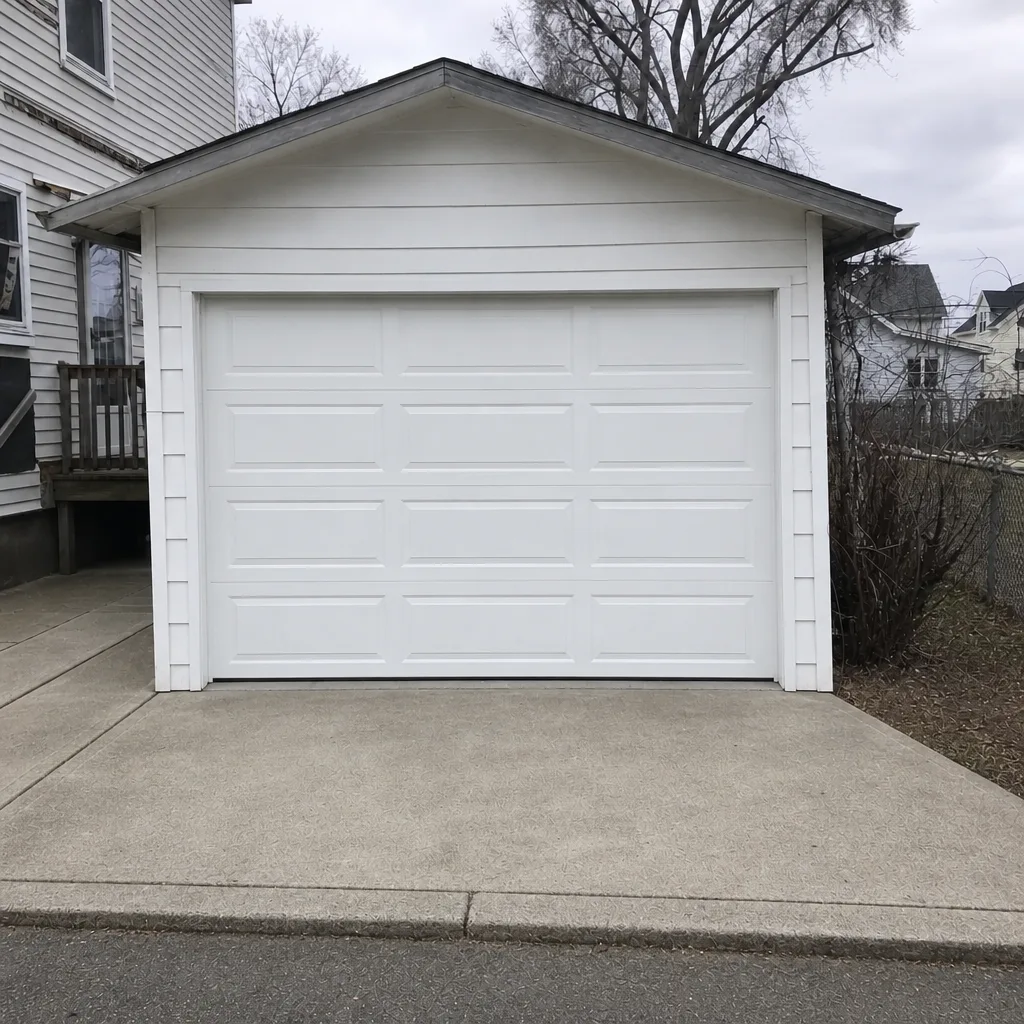 After
When to Call a Professional
Some jobs are a homeowner’s, and some aren’t. Call a professional when the door doesn’t reverse on the auto-reverse test, when the balance test fails, when a track is bent or the door has jumped its rollers, when a spring is visibly worn, or when the door won’t open or close at all. Those are the situations where a trained technician prevents a bigger problem. For everything else – the checks, the lubrication, the seal inspection – this guide is your maintenance plan. If your garage door is a daily entry point and you’d rather not be the one under the hood, we handle the whole lifecycle: Lowell Garage Door Repair covers repair, spring repair, opener repair, installation, and emergency service, all within the garage door category. For a free estimate, call (866) 605-2979. We answer 24/7, with fast dispatch from 7am to 7pm.
Frequently Asked Questions
Once in late fall and again in early spring is the right rhythm for Lowell. The late-fall check gets the door balanced and sealed before the first hard freeze, and the spring check catches what a winter of freeze-thaw revealed. If your door has torsion springs or is more than a few years old, add a quick visual check after any winter thaw.
No. WD-40 is a penetrating solvent, not a durable lubricant, and it’s the wrong product for every part of a garage door. It washes out factory grease and leaves parts drier than before. Use a lithium-based grease on the opener rail and a silicone or lithium spray on hinge pins and roller bearings instead.
It means the door is out of balance, and the springs are the cause. A door that drops on its own has under-wound or fatigued springs; a door that rises on its own has over-wound or mismatched springs. Don’t keep opening it. Call (866) 605-2979 and have a technician inspect the spring system. Estimates are free.
Close the door with a piece of 2×4 lumber flat on the floor in its path. When the door contacts the lumber, it should reverse and go back up. If it doesn’t reverse, the opener’s force-sensitivity setting is out of range and needs service. Test at least twice; if it fails either time, stop using the opener and call for help.
Often yes, if the retainer is in good shape and the door is a standard size. Cutting the seal to fit and threading it into the retainer is a reasonable homeowner job. If the seal is peeling away from the door at the base, though, the retainer usually has to come off, and that’s a replacement for a technician.
Typical repair prices in the Lowell market run from around $150 to $350 for most hardware and opener repairs, with spring work and more involved jobs at the higher end. We quote the price in writing and agree it with you before any work begins, so the written estimate is what you pay. Call (866) 605-2979 for a free estimate.
The Bottom Line
A garage door maintenance checklist isn’t a list of a dozen tasks to do every few months. It’s five checks done correctly: lubricate only the parts that need it (and never the springs), run the 60-second balance test, inspect the weatherstripping for Lowell’s freeze-thaw failure modes, verify the opener’s auto-reverse sensitivity, and tighten the loose hardware that cold weather works loose. Do those, know which failures are urgent and which can wait, and you’ll head off the majority of emergency calls. Anything touching springs, cables, or a bent track goes to a trained technician, every time. Our technicians have up to 15 years of experience working on the brands already in your garage. When you need us, call (866) 605-2979. We answer 24/7. Fast dispatch from 7am to 7pm.
Written by the team at Lowell Garage Door Repair.